Container Modifications—Adding a Door to Your Container
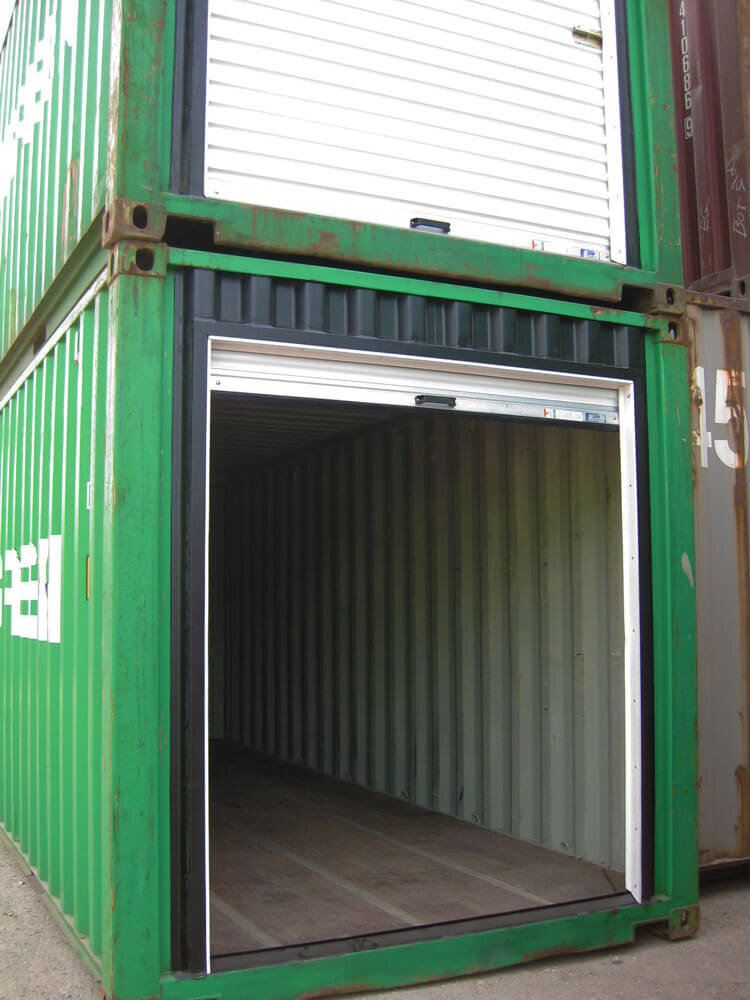
Container modifications. The internet tells you it is easy. You know it should be. But the question is, how easy is it? These days, if you can cut and weld, it is very easy. Container modification kits take all the hassle out of the whole process.
Step 1 Cut the hole the size indicated with the kit. You do need to have the appropriate tools to cut the opening. If you are putting a roll-up door on the end of your container, measuring is even easier since you can cut right to the corner posts with most kits.
Step 2 Weld in the framing and threshold. Kits come with framing that fits into the corrugation of the container, making it easy to create a door casing.
Step 3 Install the door and hardware. Kits come with everything you need to for either a roll-up or man-door.
Step 4 Paint the frame (most come bare metal). If you want, you can paint the door to match.
As long as you have welding equipment, modifying your container can be easy. As always, click on a picture to make it bigger.
Have you installed a door on a container? Did you use a kit or create your own? Do you have any advice to others who are looking to modify containers on their own?


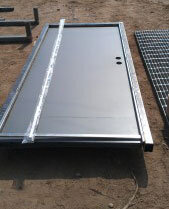
Man-door installed
Tags:
DIY KitsMarch 28, 2020
